Even More Accurate Measurements
04. novembro 2024
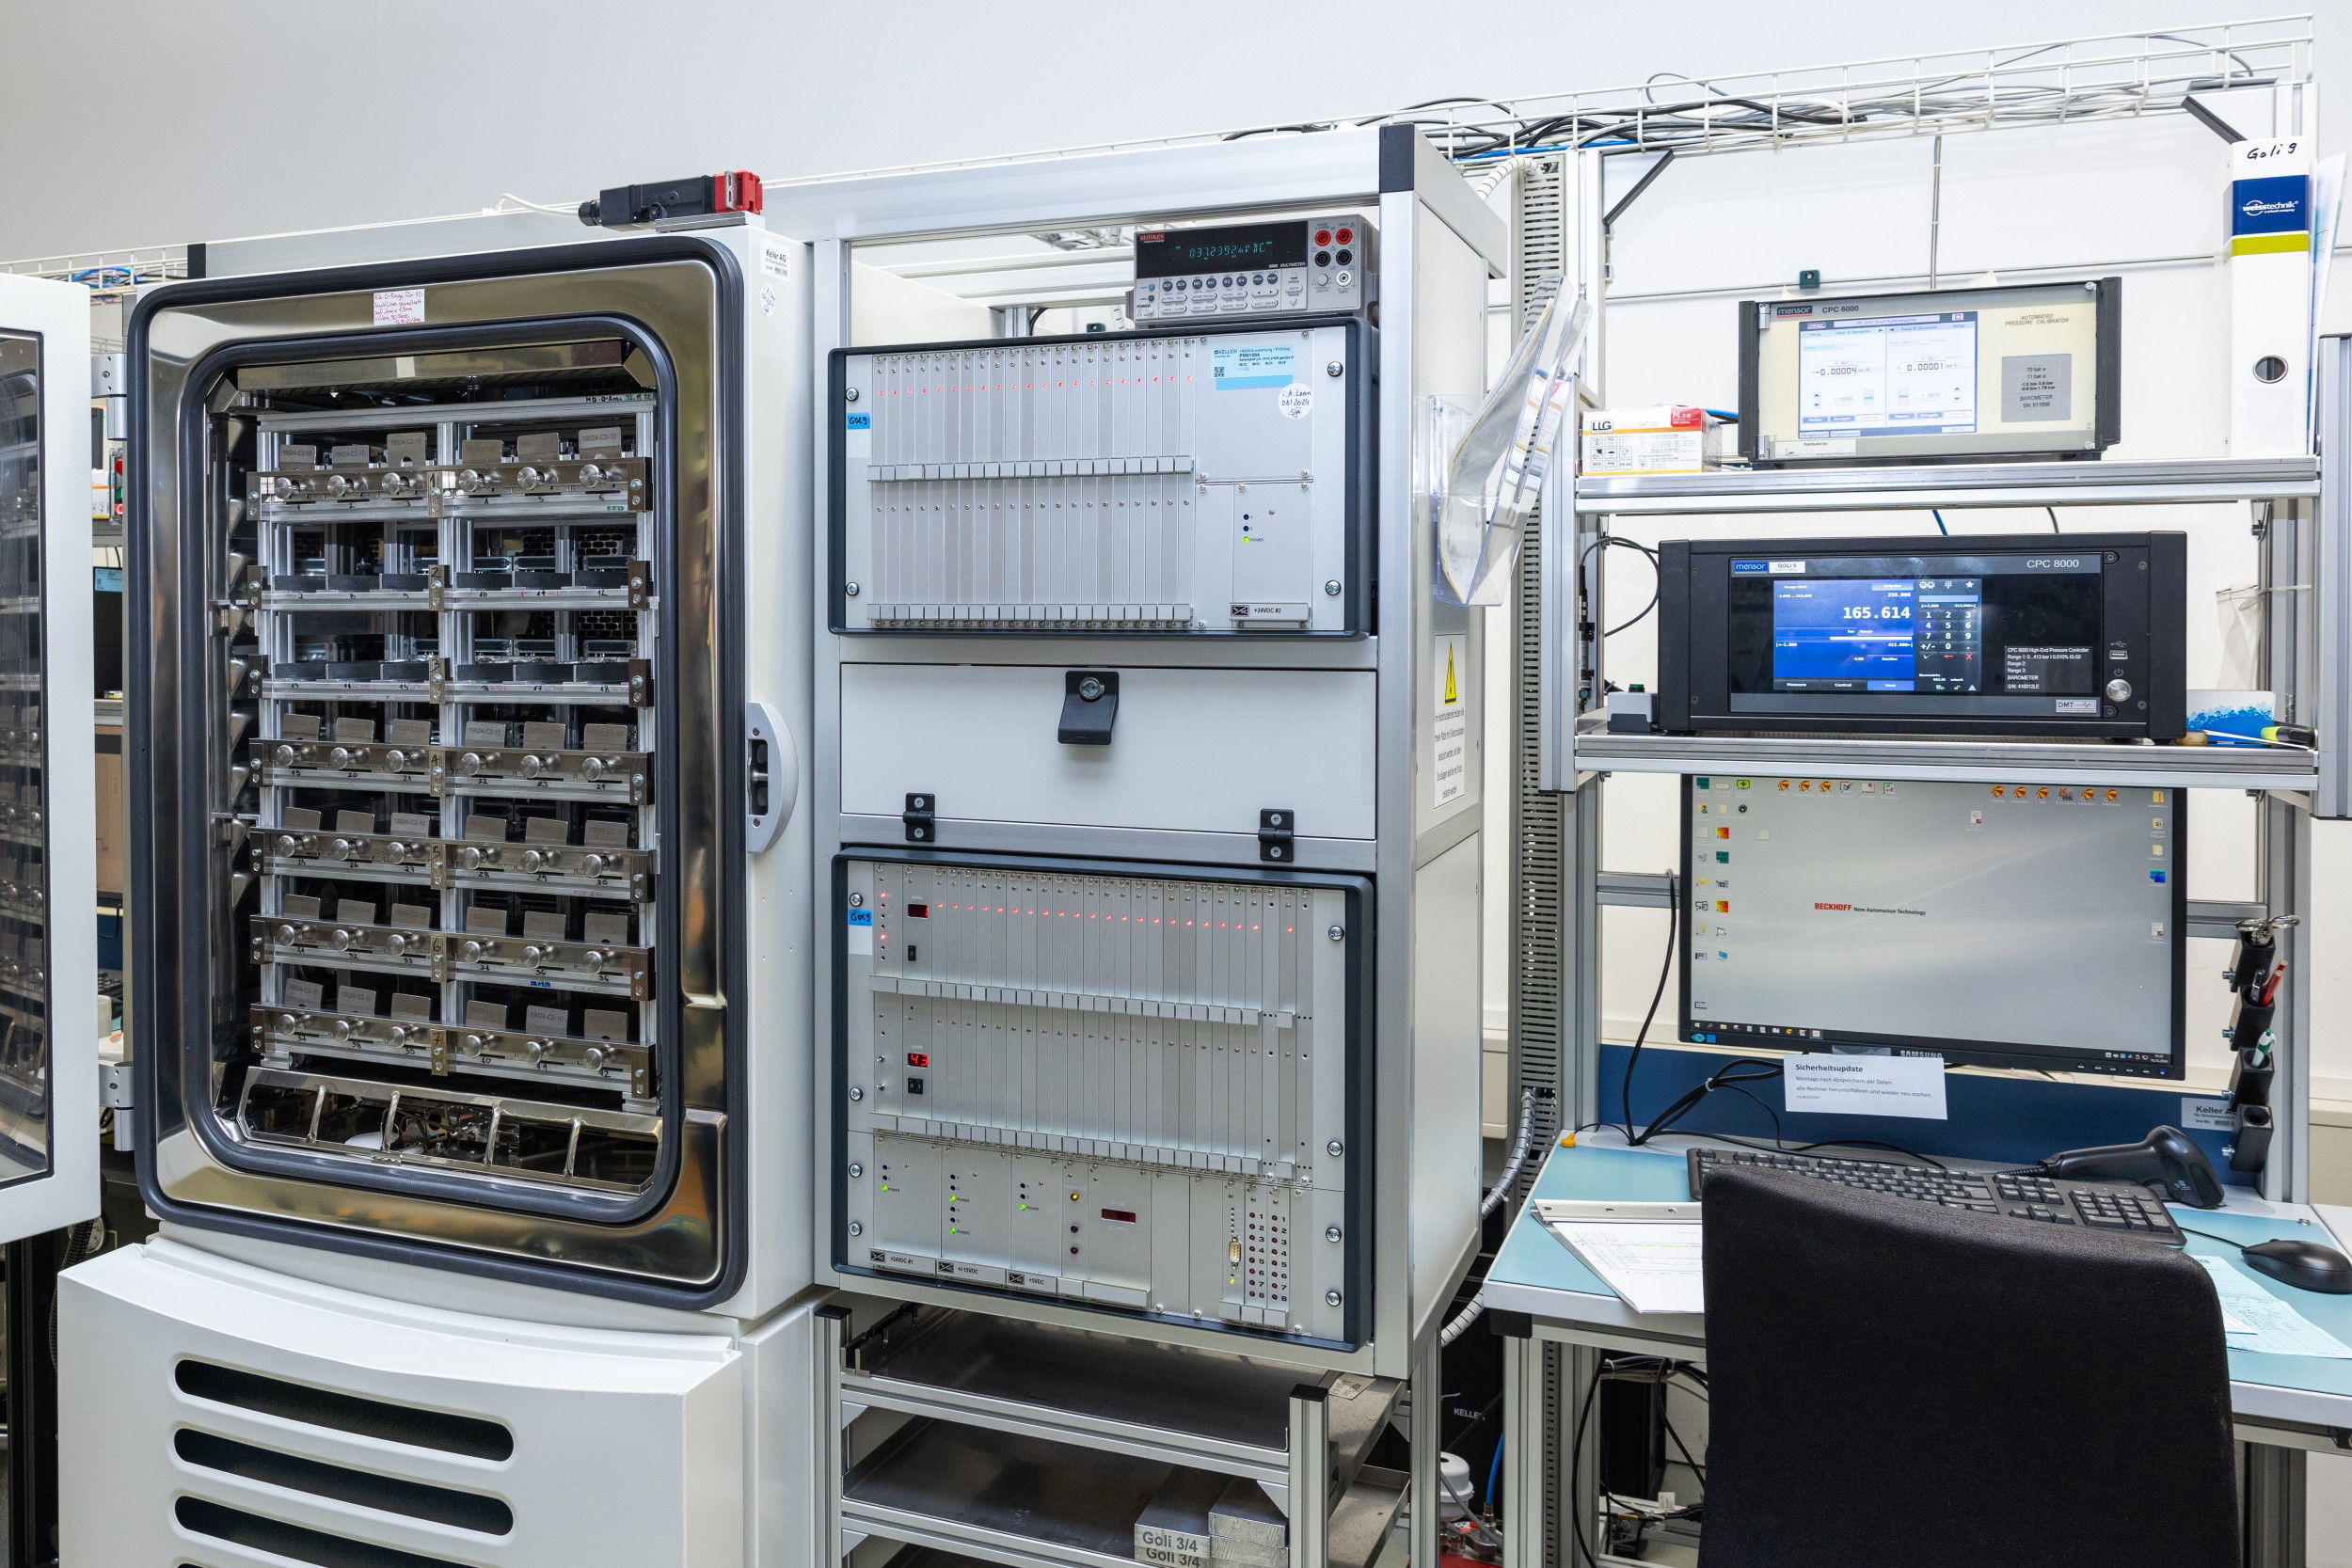
Measuring pressure is simple, if you can use a pressure transmitter. But how do you make a good pressure sensor into the perfect pressure transmitter? Our Technical Director, Bernhard Vetterli, gives a brief insight into what is needed to produce accurate, reliable measurement systems.
Information forms the basis for every decision and every action. This is why measuring, inspecting, comparing and testing are the starting point for all types of optimisation measures. There can be no feedback loops and no improvement processes without data. In the world of measurement systems, this plays a decisive role. It is the only way that we have been able to perfect our products over the decades.
The more thoroughly we understand our products, the more opportunities we have to develop and optimise them and to increase the reproducibility of the final results. The quality of the products depends on the design and the manufacturing processes. Close collaboration between the design team, the electronics and software development teams and the production department is a key factor in KELLER’s success.

Quality Seal for KELLER Sensors – The Original Since 1974
Measuring and testing in product development
Pressure sensors transform pressure, which is a physical variable, into an electrical signal. To determine how good a measurement instrument is, the physical and electrical factors must be accurately measured and compared. Ultimately, KELLER is accountable for the new product and must be able to demonstrate that it meets expectations and complies with standards, or even exceeds them.
Electronics
Electromagnetic compatibility (EMC) requires pressure gauges to withstand electromagnetic radiation up to 6 GHz, electrostatic discharge (ESD) and bursts and surges (lightning strikes). At KELLER, we test for additional factors that could cause problems in real-life practical applications. For example, we are optimising our new sensor electronics to ensure that they can operate in close proximity to current inverters, chatter or power supply faults. In addition, each sensor electronic is equipped with a system that protects against overvoltage and reverse polarity.
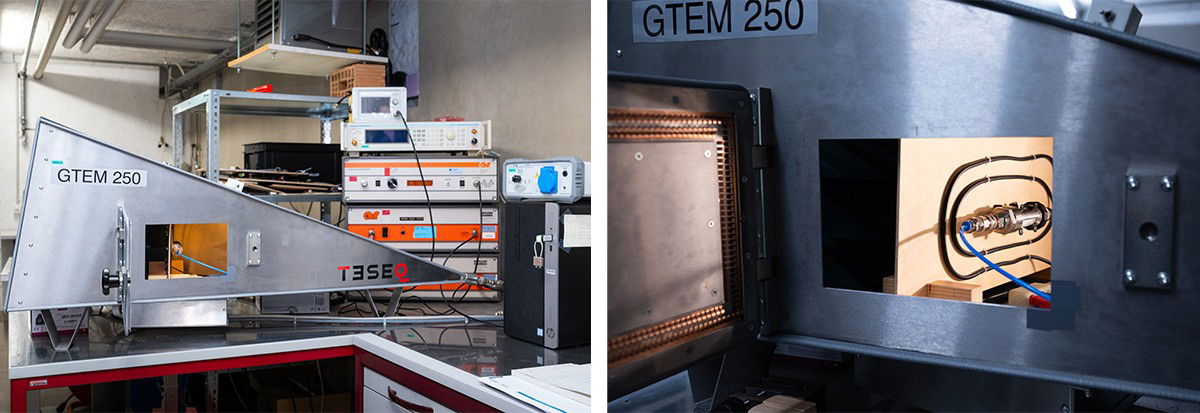
EMC test laboratory
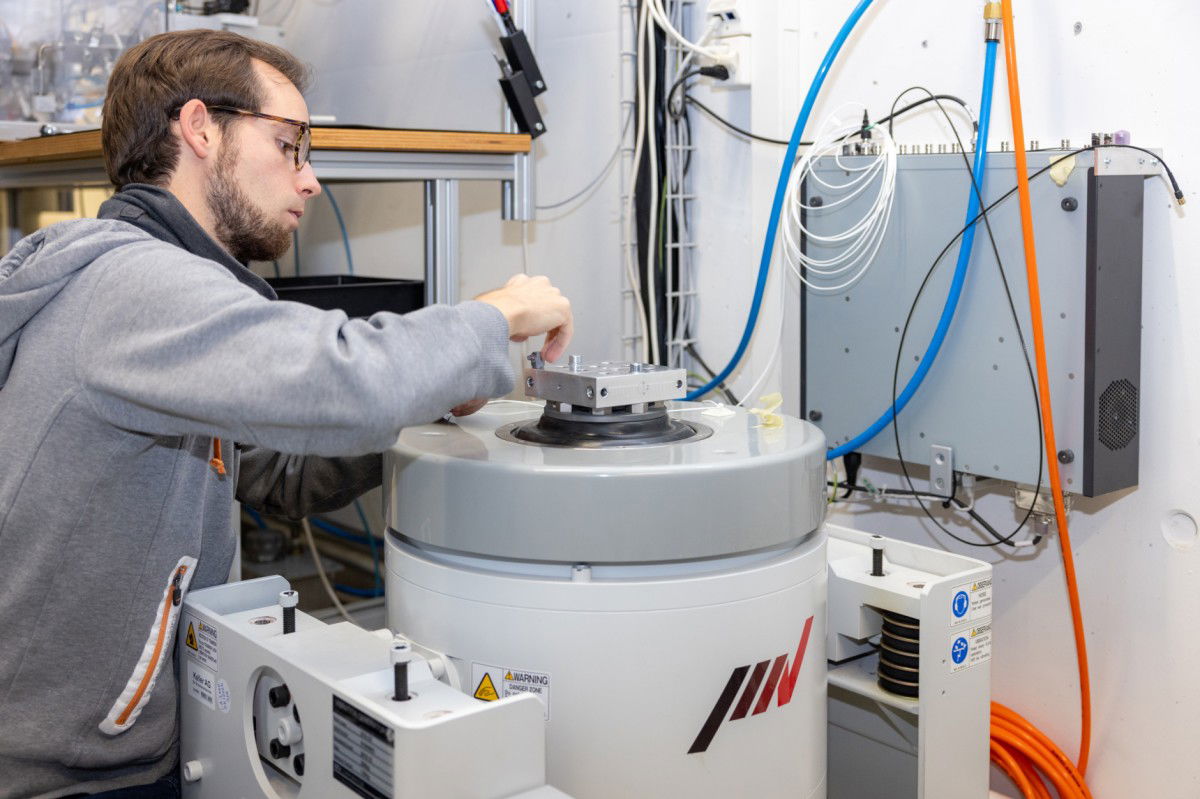
Preparation for vibration and shock tests
Mechanical design
Housing components, weld seams, diaphragms and pressure connections are designed with the help of simulation tools (see the blog «FEM Simulation in Design»). This allows us to recognise and rectify potential design faults already at the design stage.
Pressure tests
We subject our high-pressure gauges to burst pressure and long-term pressure tests at up to 4000 bar and not only at room temperature, but also in climate cabinets at up to 200 °C.
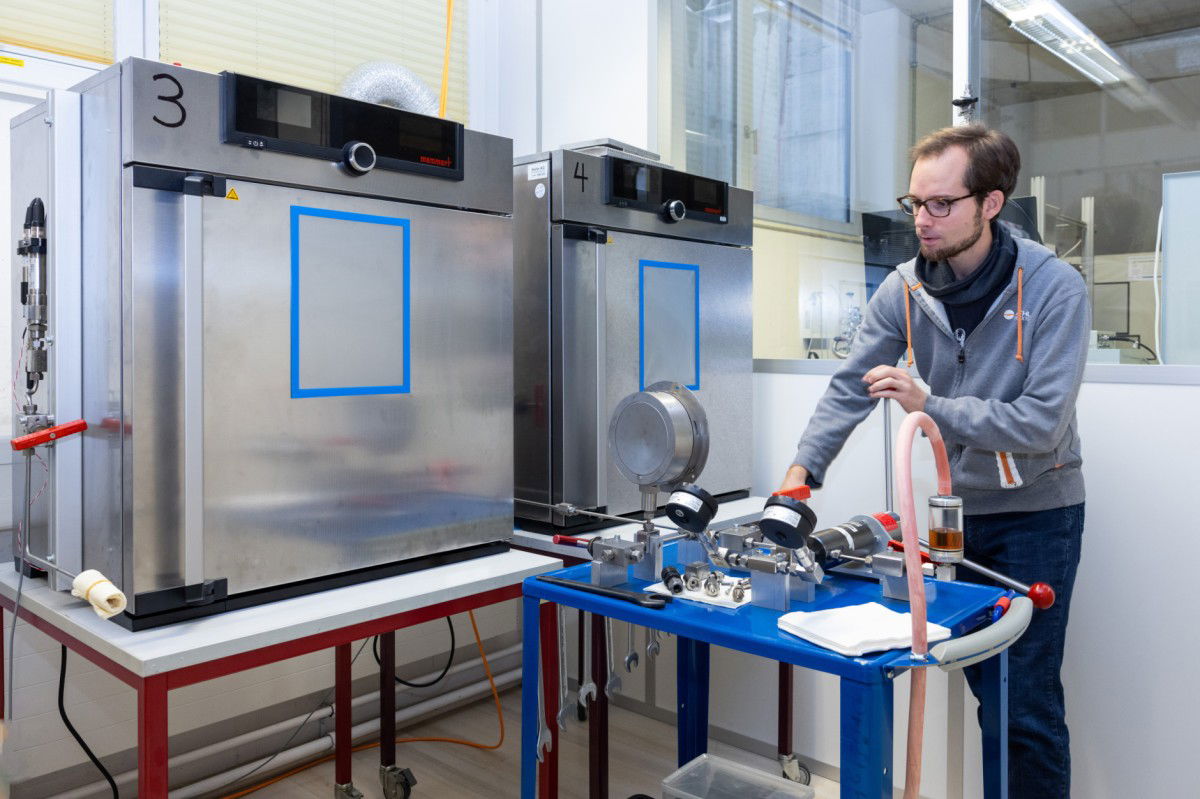
Burst pressure and long-term pressure tests in the mechanical test laboratory
Long-term tests
Our pressure cycling systems operate around the clock and allow for pressure surges of up to 1800 bar. During the design phase, the examinees are exposed to 10 million pressure cycles at between 0 and 100 % of the specified pressure range that we guarantee in our data sheets. The Wöhler curve (Wikipedia: Fatigue (metal)) indicates that this means resilience for any number of pressure cycles can be expected.
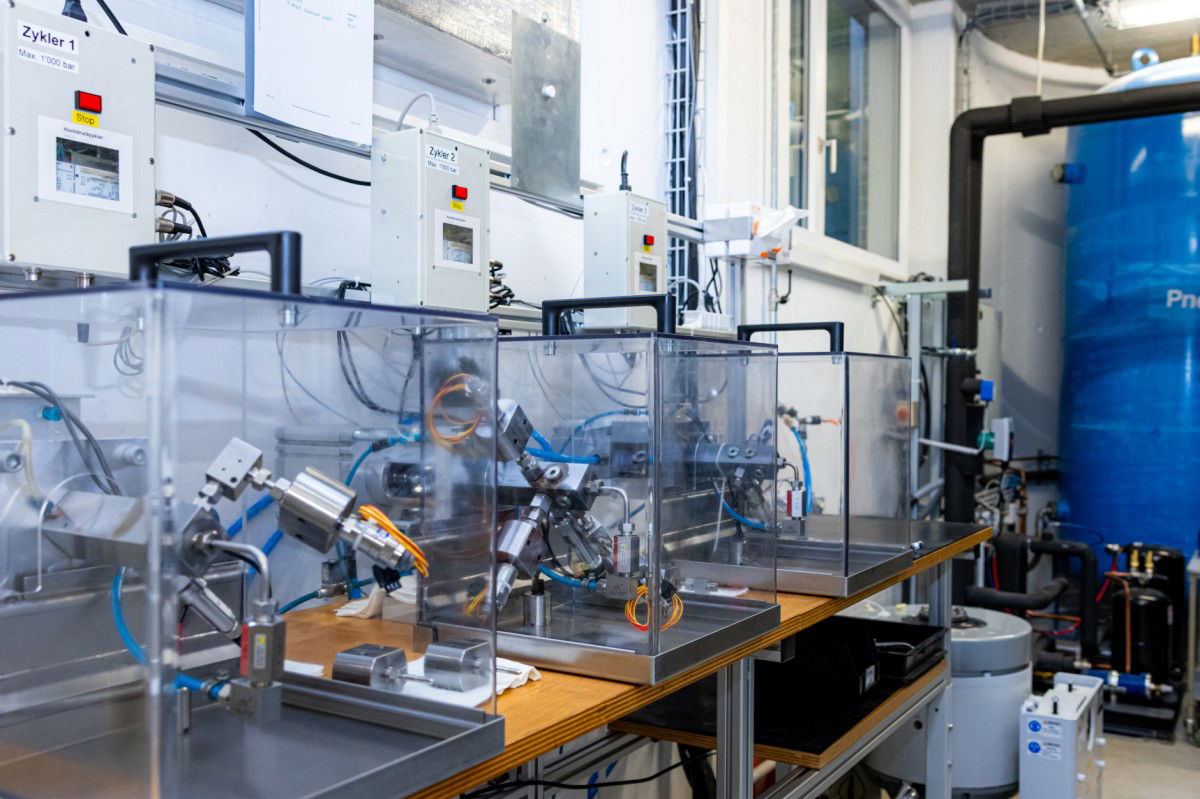
Our pressure cycling systems are in permanent use.
Measuring and testing processes guarantee the quality of our products. But our highly qualified employees, who think for themselves, work attentively and really understand methods and processes, play an equally important role. The comprehensive test procedures in production and the time-consuming measurements are ultimately only as good as the people who carry them out. This is why we put great emphasis on precision, responsibility and the input from every individual employee.
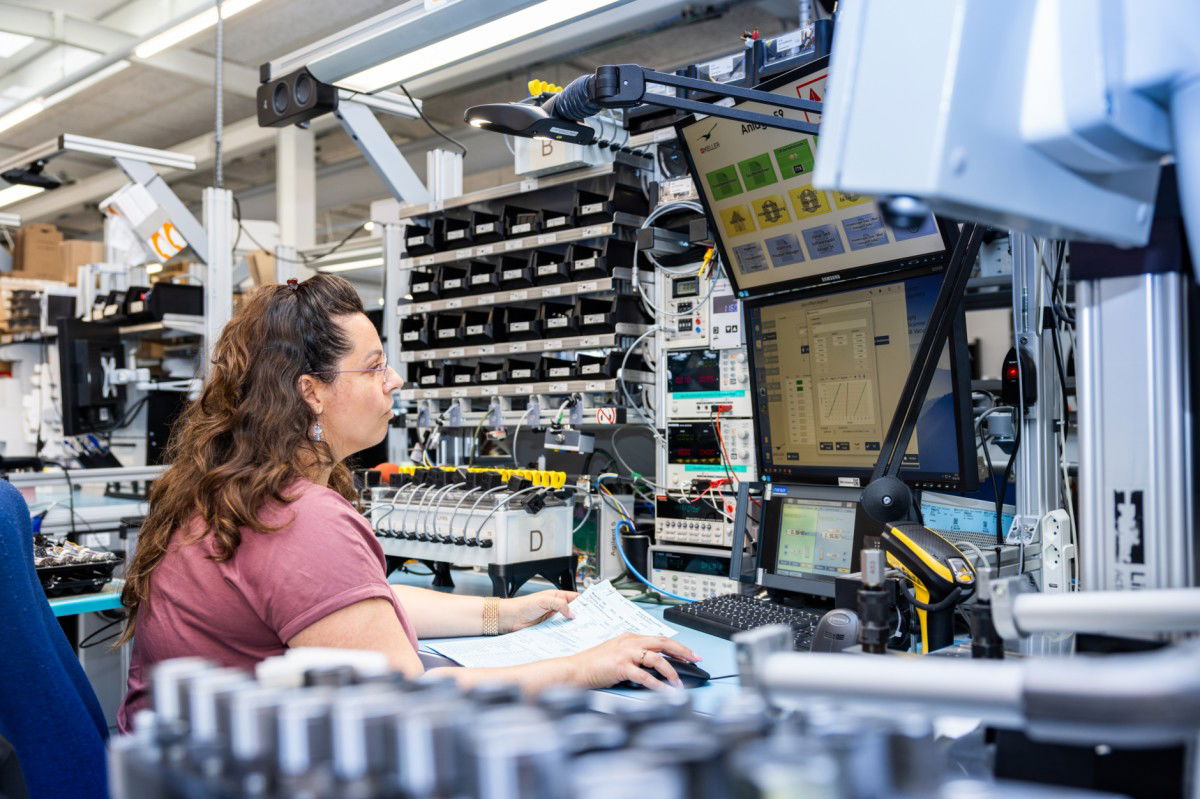
Interim testing in production
All of these efforts and measurements are made and the deviations are characterised and corrected to ensure that our customers can rely on precise measurement results every time. We supply them with pressure transmitters with a standardised output signal and a total error band of ± 0.05 %FS across the entire temperature range.
The following measurements and tests are carried out during the sensor production process at KELLER.
Sensor chips
The pressure sensor itself lies at the heart of our sensors. This consists of a silicon chip behind a metal diaphragm that converts the physical pressure into an electrical signal. Before new batches of chips can be installed in production, they undergo a sensor qualification process which is supervised by the development department. This involves making the sensor chips into measurement cells and subjecting them to thorough testing. This is not a simple incoming goods check, but includes not only comprehensive performance measurement via pressure and temperature, but also long-term measurement over 3 months at high temperature.
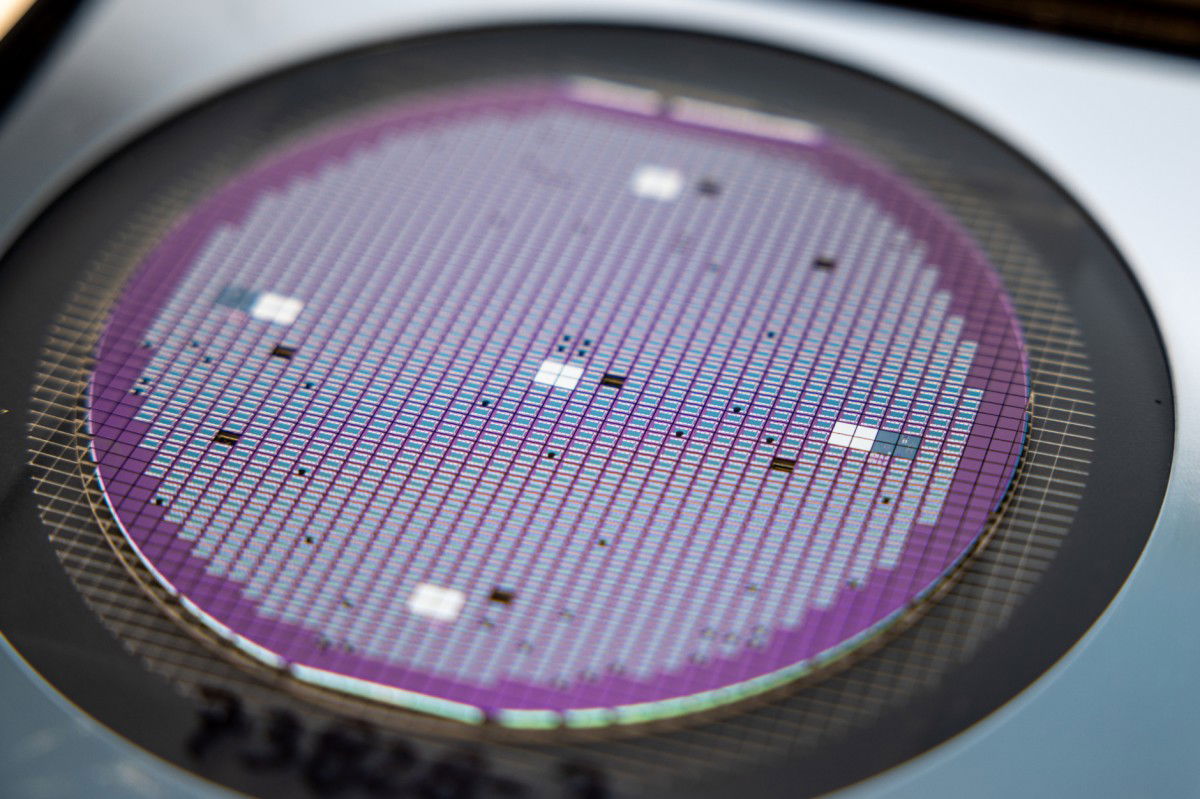
Silicon wafer with about 1200 individual sensor chips
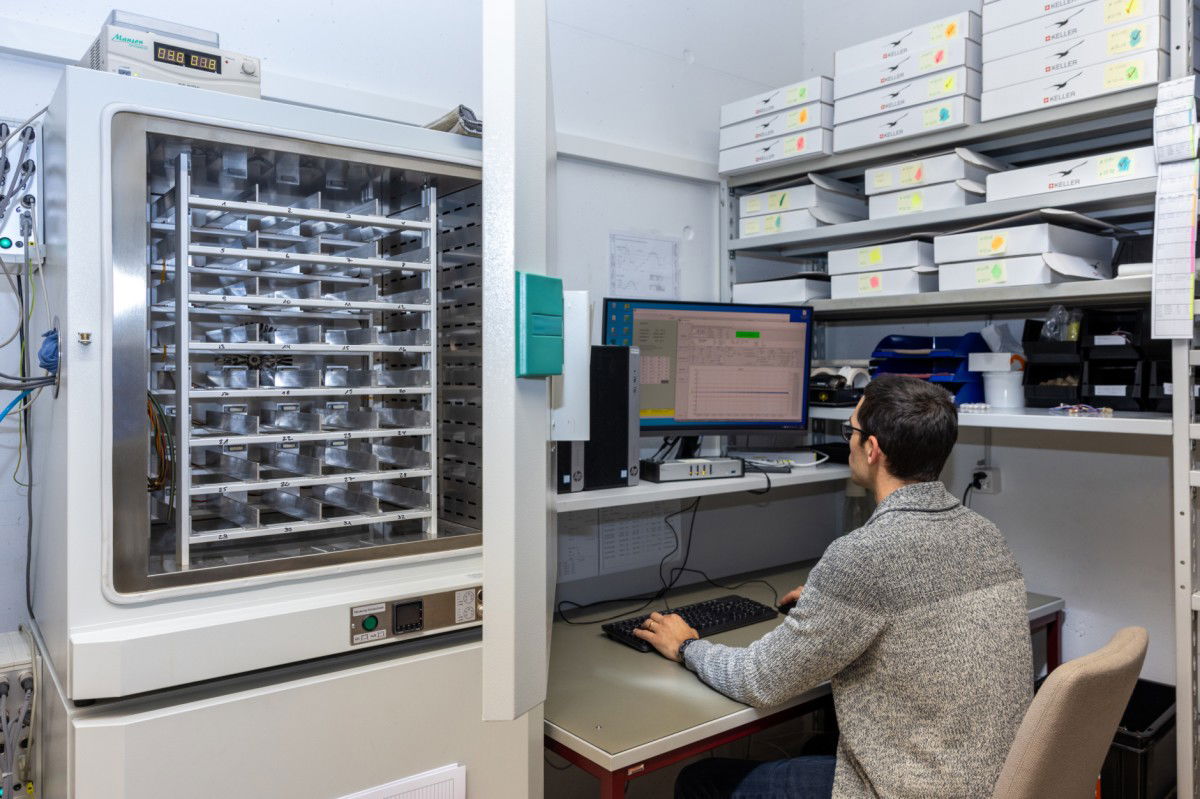
Long-term measurements of new batches of chips
Mechanical components
As part of the process of assembling the mechanical components, all the joints undergo leakage tests with helium. This test is directly integrated into the embossing system for the wafer-thin metal diaphragms in the pressure transducer to ensure that defective components do not undergo further processing. Of course, every completed pressure device is also subjected to pressure and temperature in order to test its pressure resistance and structural integrity.
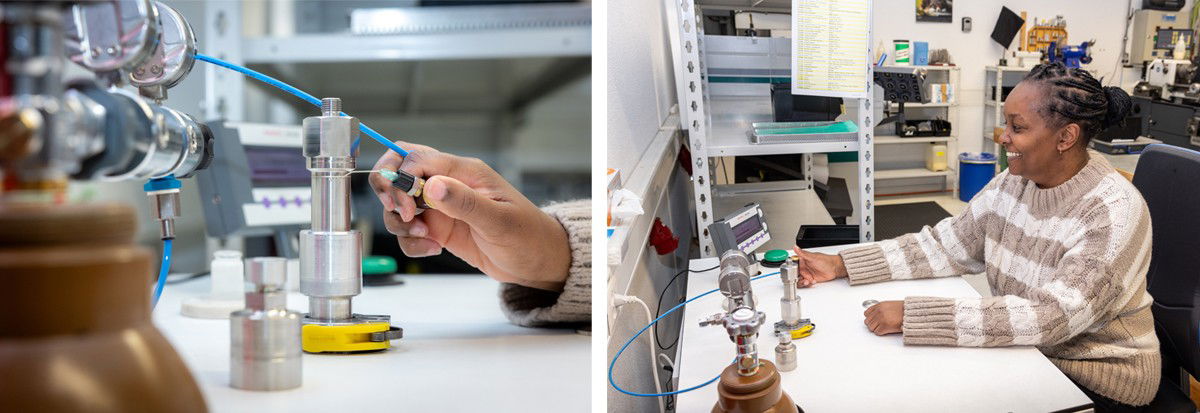
Leak test of the mechanical components using helium
Characteristics of every individual sensor
As soon as the pressure sensor chips are installed in a housing with easily adjustable pressure and signal connections, the control measurements and initial evaluations begin. These can last anything from a few hours to several days. The piezoresistive sensor technology with its characteristic temperature behaviour has led over the years to us installing more than 60 measurement systems with a total of 12’000 measurement stations. Despite the fact that the materials and production machines and the reproducibility of the processes are constantly improving, every pressure sensor is slightly different and has its own special characteristics. For this reason, KELLER tests and evaluates the pressure and temperature behaviour of each individual pressure transducer in detail.
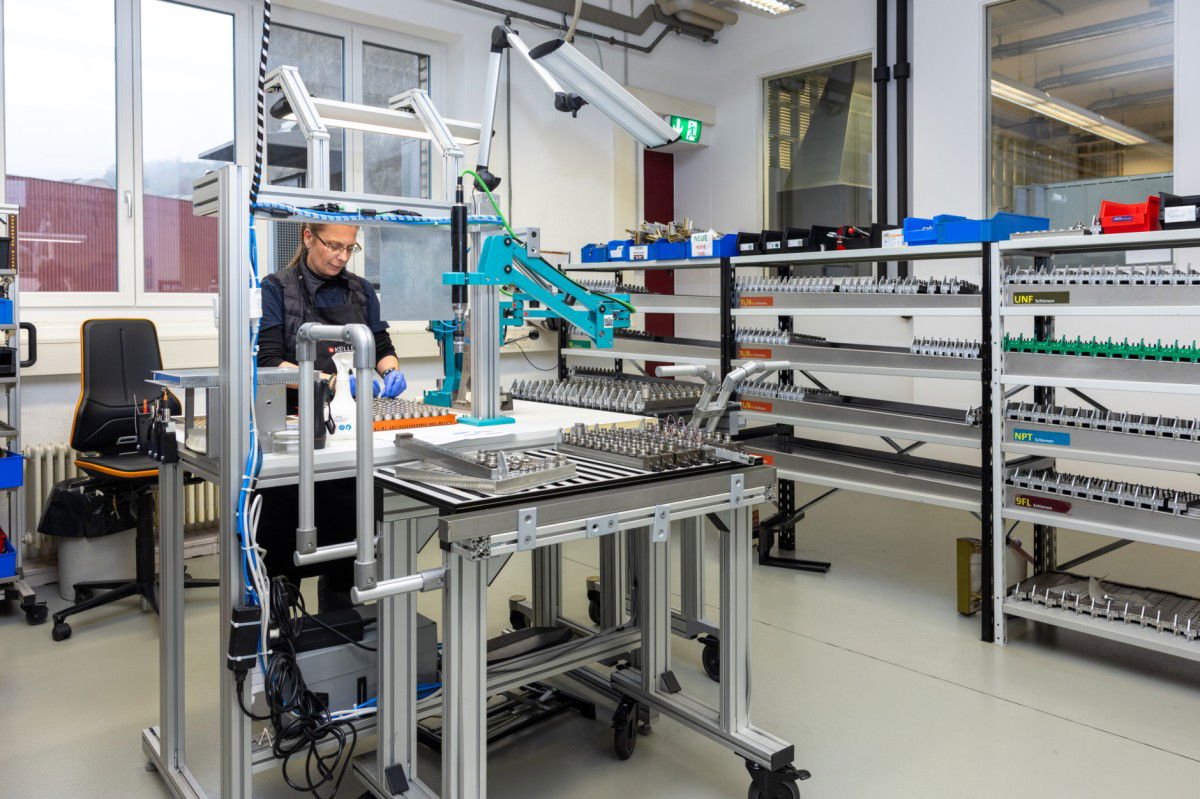
Installing the sensors in adapter rails for pressure and temperature testing in the measurement systems
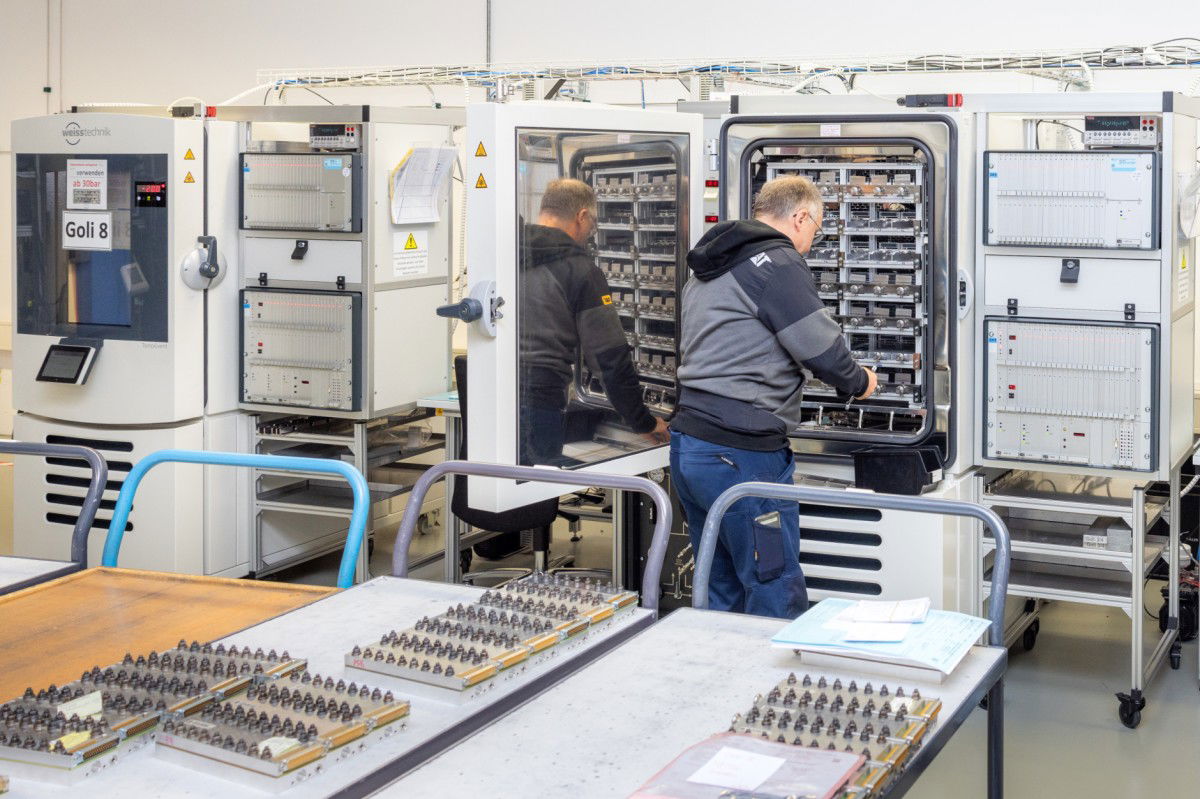
Measurement system for performance measurement via pressure and temperature
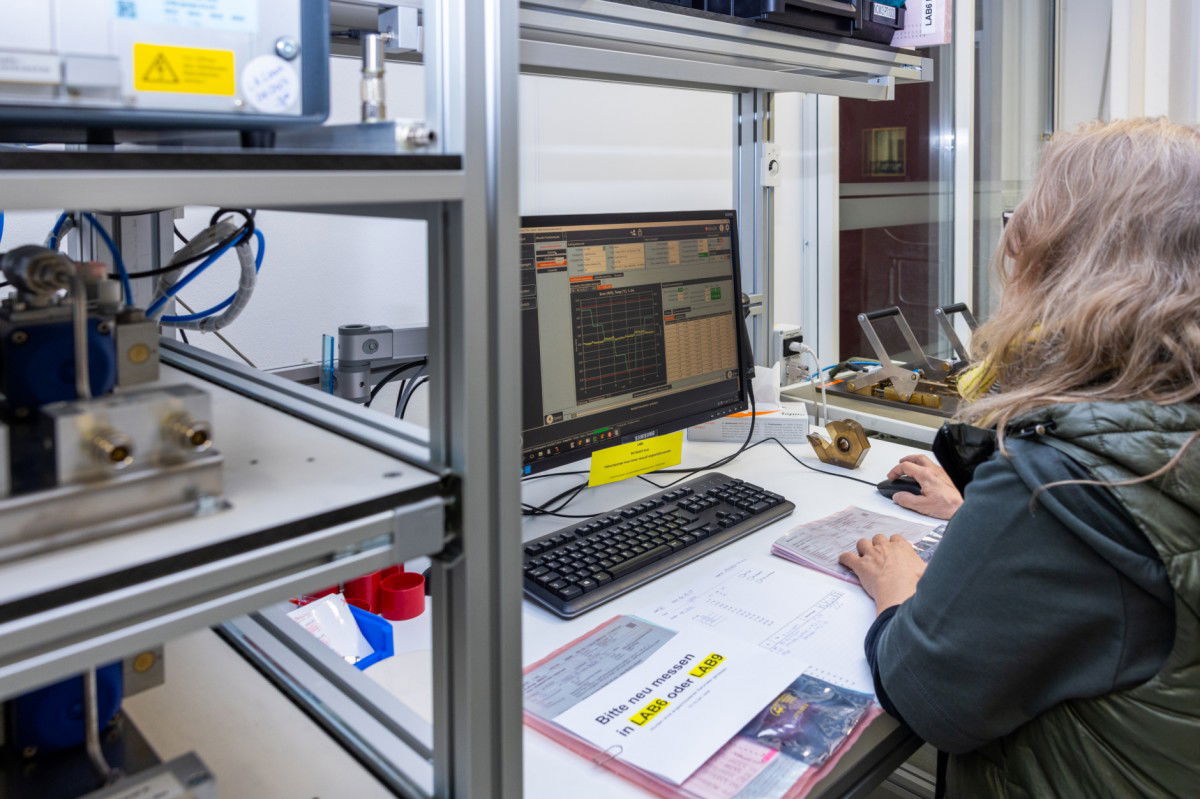
Evaluating the measurement data
Compensation
This individual characterisation of the sensors allows for a mathematical description of the deviation from the ideal behaviour and an understanding of how the deviation can be compensated for (see the blog «Mathematical Compensation Model»). The information can then be made available to the customer in the form of a polynomial coefficient. In the case of pressure transmitters, the coefficients are fed directly into the compensation electrics. This is the key to achieving the «perfect pressure transmitter» that was referred to at the beginning.
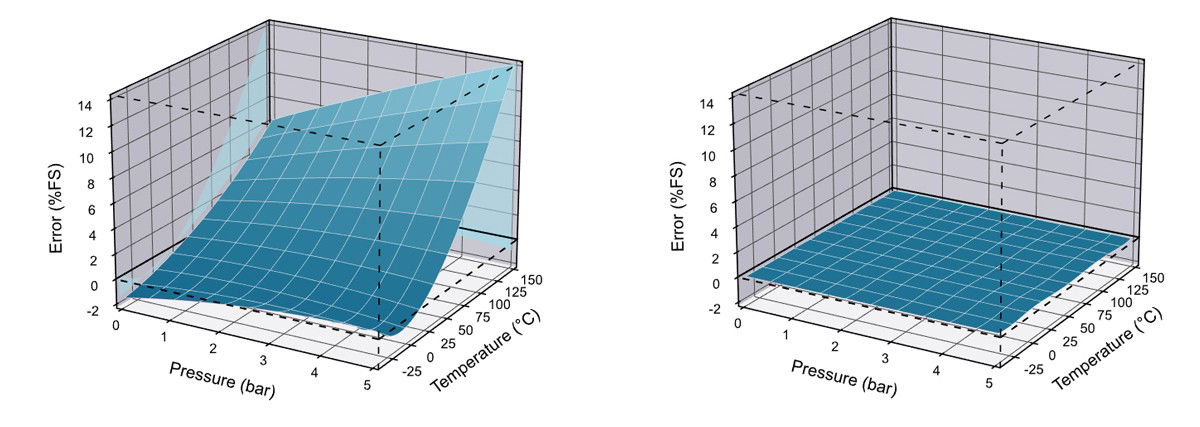
Modelling the physical characteristics of a sensor element
Interim and final tests
After the important work has been completed and before the pressure gauges are packaged and dispatched, they have to undergo comprehensive functional and accuracy tests in the so-called unitester. The unitester has been developed in-house by KELLER using specific software and hardware. It has been constantly improved over the years and can run automated tests.
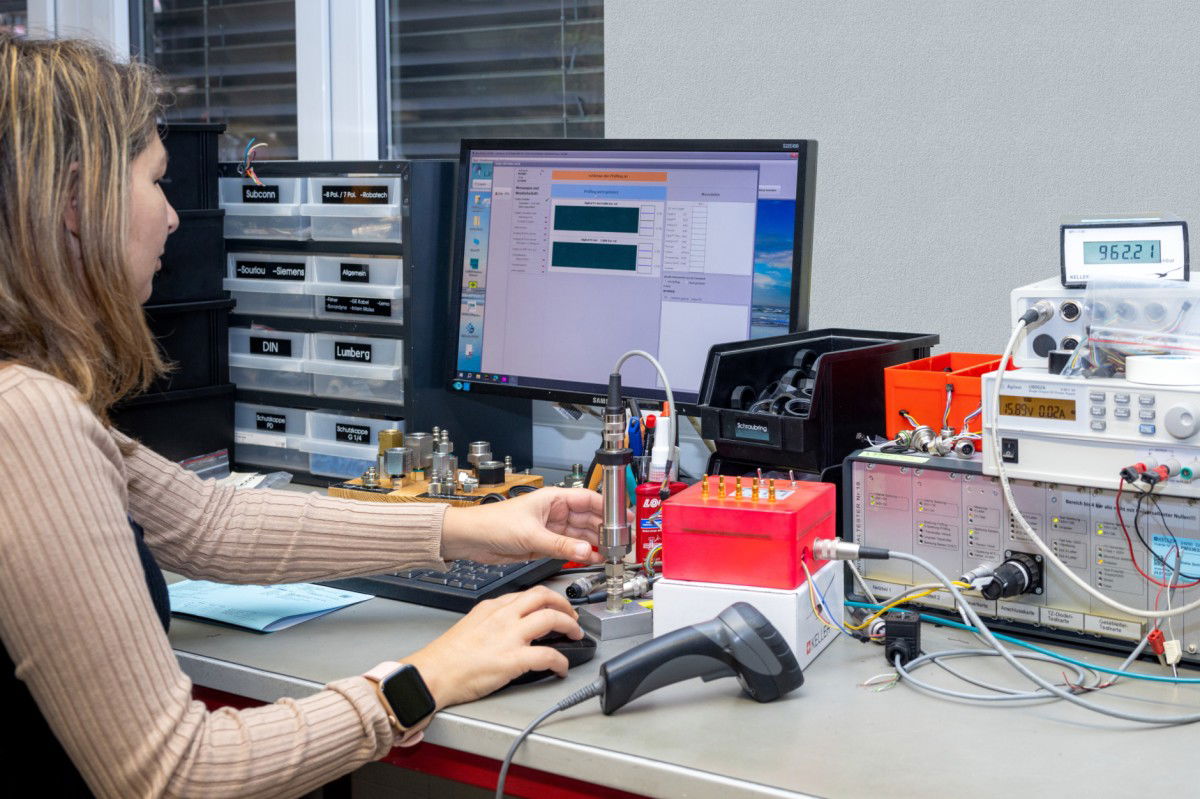
Final test with the in-house «Unitester»
Subsequent measuring and testing
The extensive measuring and testing work that KELLER carries out on the sensors benefits customers directly with the individual and comprehensive characterisation of the sensors.
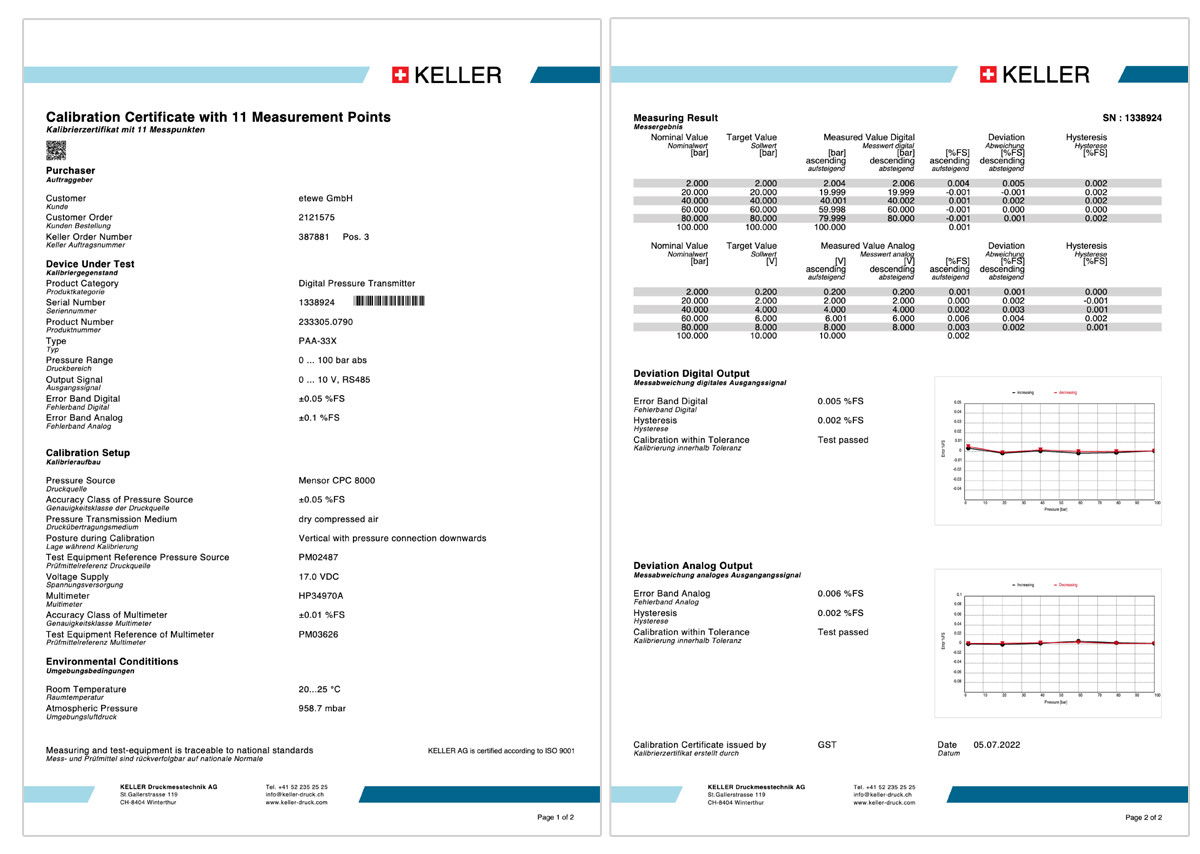
Calibration certificate with pressure and temperature measurement data
The large amount of measurement data also provides KELLER with the necessary statistical data to better understand the properties of the different sensor designs and thus provides the basis for continuously improving the sensors.
Our equipment manufacturing team develops automation solutions that are tailor-made for the requirements of our production department and that meet our high standards of quality and precision. This has allowed us to continuously improve our products, process stability and efficiency over the last 50 years.


